Configuration
After installing CelerSearch, connect it to a search engine and pick an onboarding path.
First-Run Welcome Notice
On fresh installs, a dismissible WordPress admin notice shows on every admin screen (except CelerSearch's own pages) until you pick how to host your search engine:
- CelerSearch Cloud (managed) — we run Meilisearch for you; paste the provided URL + key and skip the rest of this page.
- Self-host Meilisearch — you run the server, you connect CelerSearch to it.
Both CTAs deep-link to the create-service modal. Dismissing the notice persists celersearch_welcome_dismissed in the options table — it won't nag you again on that site. Existing installs with at least one service already configured have the notice auto-dismissed on upgrade.
Adding a Search Service
- Go to CelerSearch → Services and click Add New
- Step through the create-service modal (Provider → Configure → Test & Save):
| Field | Description |
|---|---|
| Name | Friendly label shown throughout the admin (e.g. Production Search). |
| URL | Your Meilisearch endpoint (https://… for managed, http://localhost:7700 for local). |
| API Key | Admin API key — CelerSearch needs write access to create and manage indices. |
- Click Test Connection — CelerSearch validates before saving, surfacing any auth or reachability errors inline.
- Save.
API key handling
Use an admin key for the service. CelerSearch never exposes this key to the browser — all search, autocomplete, and shop-filter requests are proxied through WordPress REST endpoints, so the key stays server-side.
Supported Providers
Meilisearch is supported today. The service layer is provider-agnostic (BaseService / ServiceFactory) so additional providers like Typesense can be added without touching the rest of the plugin.
Managing Services
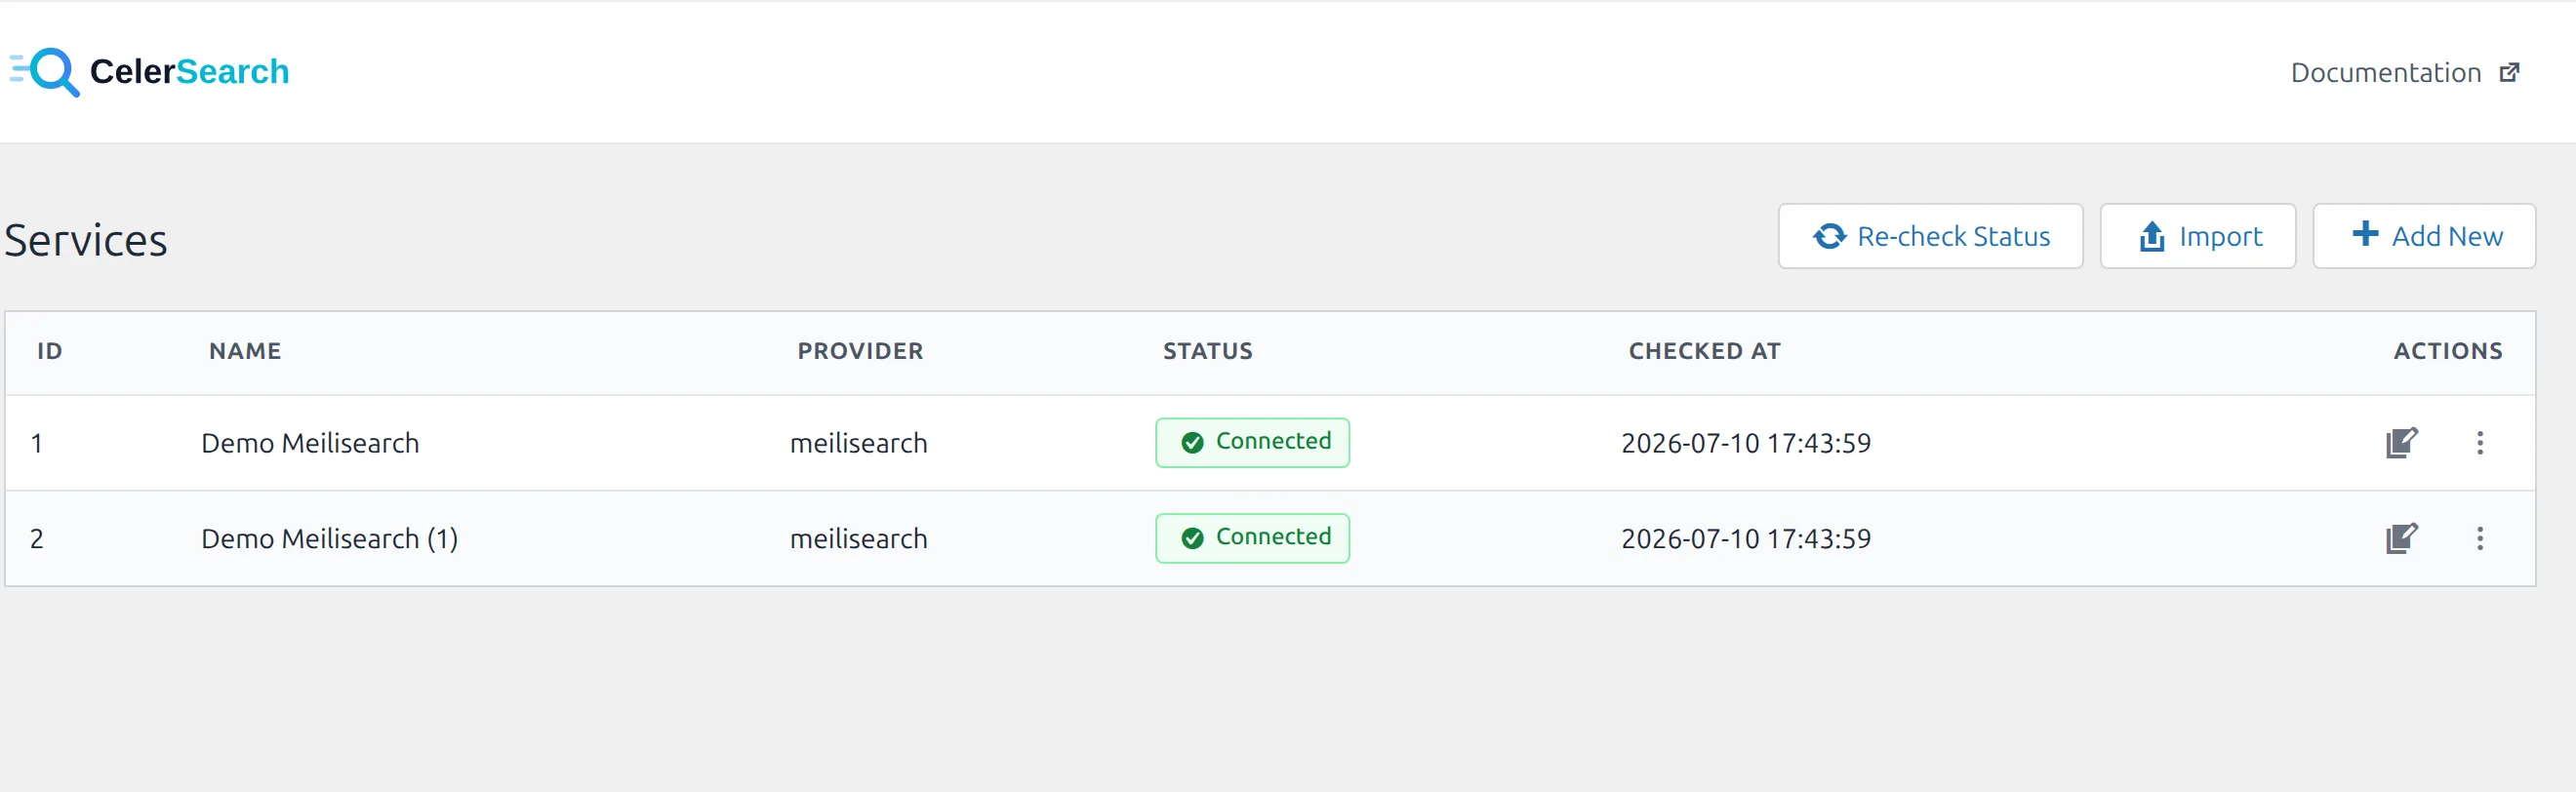
From the Services list you can:
- Edit — update URL, key, or name; the connection is re-tested on save.
- Re-check Status — each row shows a connection status; the Re-check Status action re-tests services on demand. A background health check also runs hourly via WP-Cron.
- Delete — a confirmation modal lists every index that references the service and asks you to acknowledge that those indices will be orphaned before proceeding.
Multiple Services
Nothing stops you from configuring several services — e.g. a production Cloud instance plus a local dev server. Each index is bound to exactly one service, so you can move indices between services by editing them.
Next Steps
- Create your first index
- Search areas — wire indices into WordPress